Move #6694 (Tower)
A very technical three-scallywag move, used by Wrestle-Scallywags only.
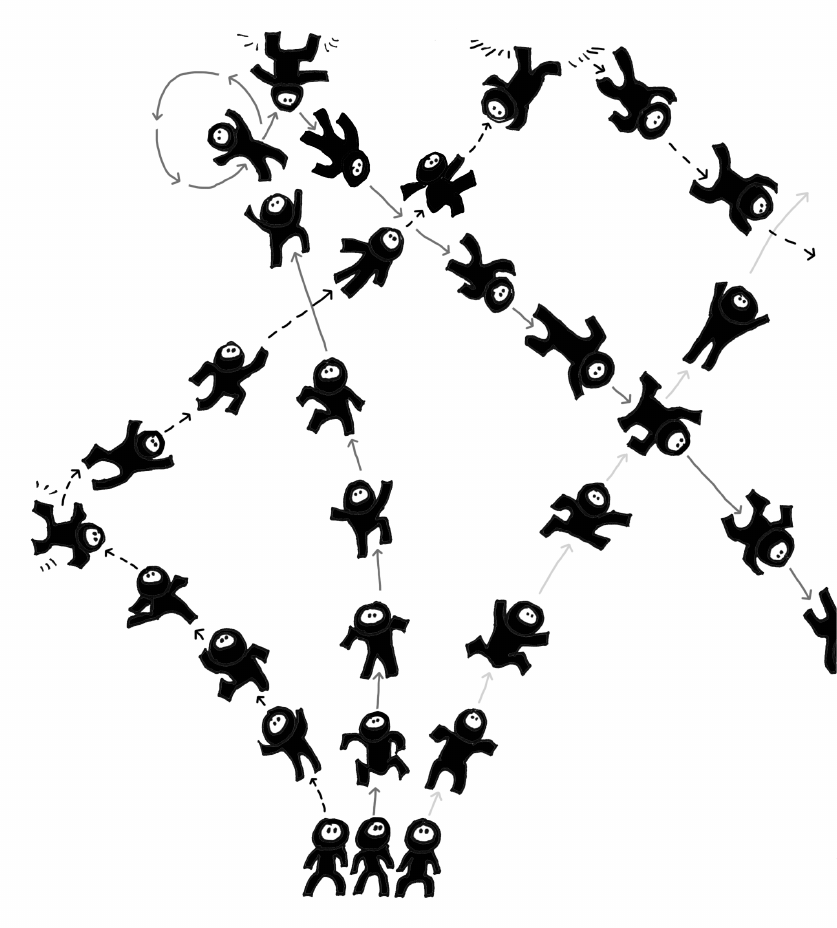
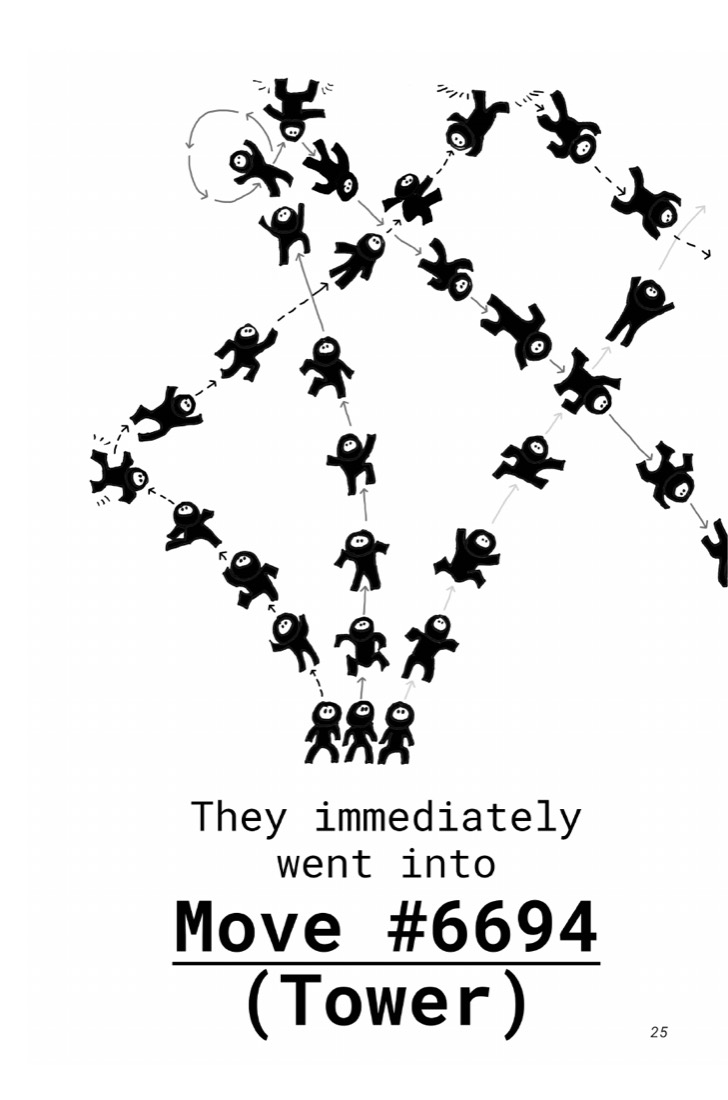
The sequence is exact. Scallywag 1 jumps up, wall-bounces, ceiling-bounces, and lands to form the base. Scallywag 2 jumps, ceiling-bounces, floor-bounces, and lands on top of Scallywag 1. Scallywag 3 arc-soars to the top. That is the Tower.
It is used primarily to intimidate opponents. Its actual effectiveness is, so far, unproven.
First seen in Book 1, page 25
Research
e_move_6694_towerIn the printed almanac pages (1 cited)
Straight from the books
Facts
in_world_system (3)
Move #6694 (Tower) is used by Wrestle-Scallywags only and is a very technical three-scallywag move.
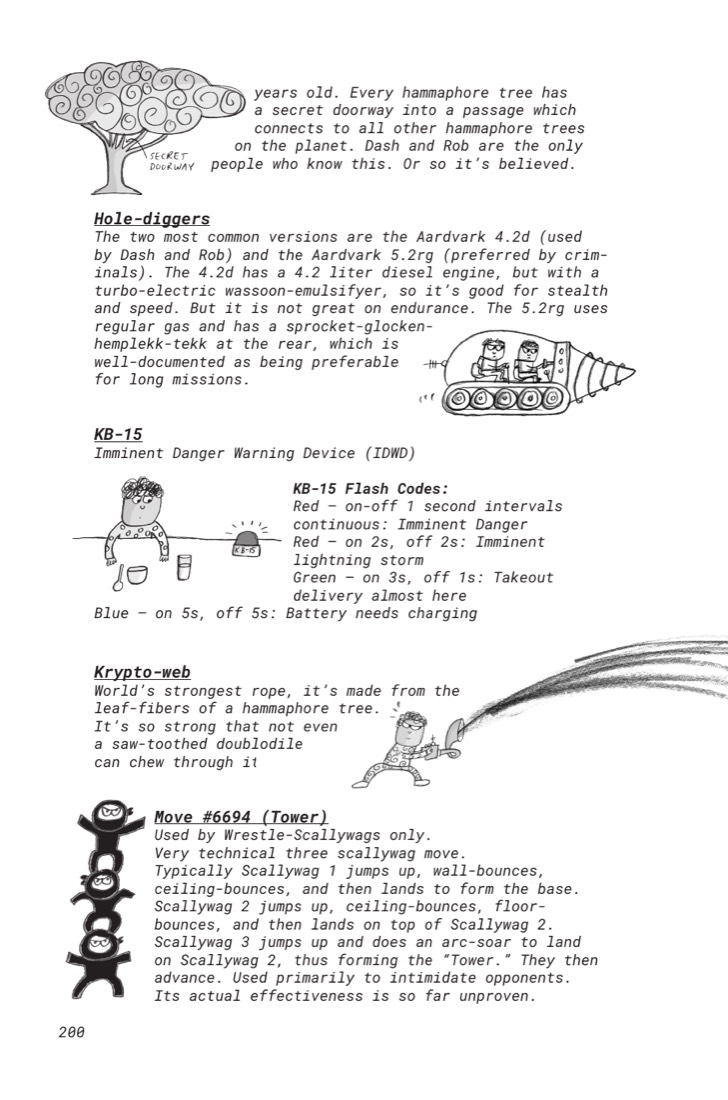
Used by Wrestle-Scallywags only. Very technical three scallywag move. b01:c99:p200
In Move #6694, Scallywag 1 jumps up, wall-bounces, ceiling-bounces, and lands to form the base; Scallywag 2 jumps, ceiling-bounces, floor-bounces, and lands on top of Scallywag 1; Scallywag 3 arc-soars to land on top, forming the Tower.
Typically Scallywag 1 jumps up, wall-bounces, ceiling-bounces, and then lands to form the base. Scallywag 2 jumps up, ceiling-bounces, floor-bounces, and then lands on top of Scallywag 2. Scallywag 3 jumps up and does an arc-soar to land on Scallywag 2, thus forming the "Tower." b01:c99:p200
Move #6694 (Tower) is used primarily to intimidate opponents, and its actual effectiveness is so far unproven.
Used primarily to intimidate opponents. Its actual effectiveness is so far unproven. b01:c99:p200